
Last updated November 22, 2026
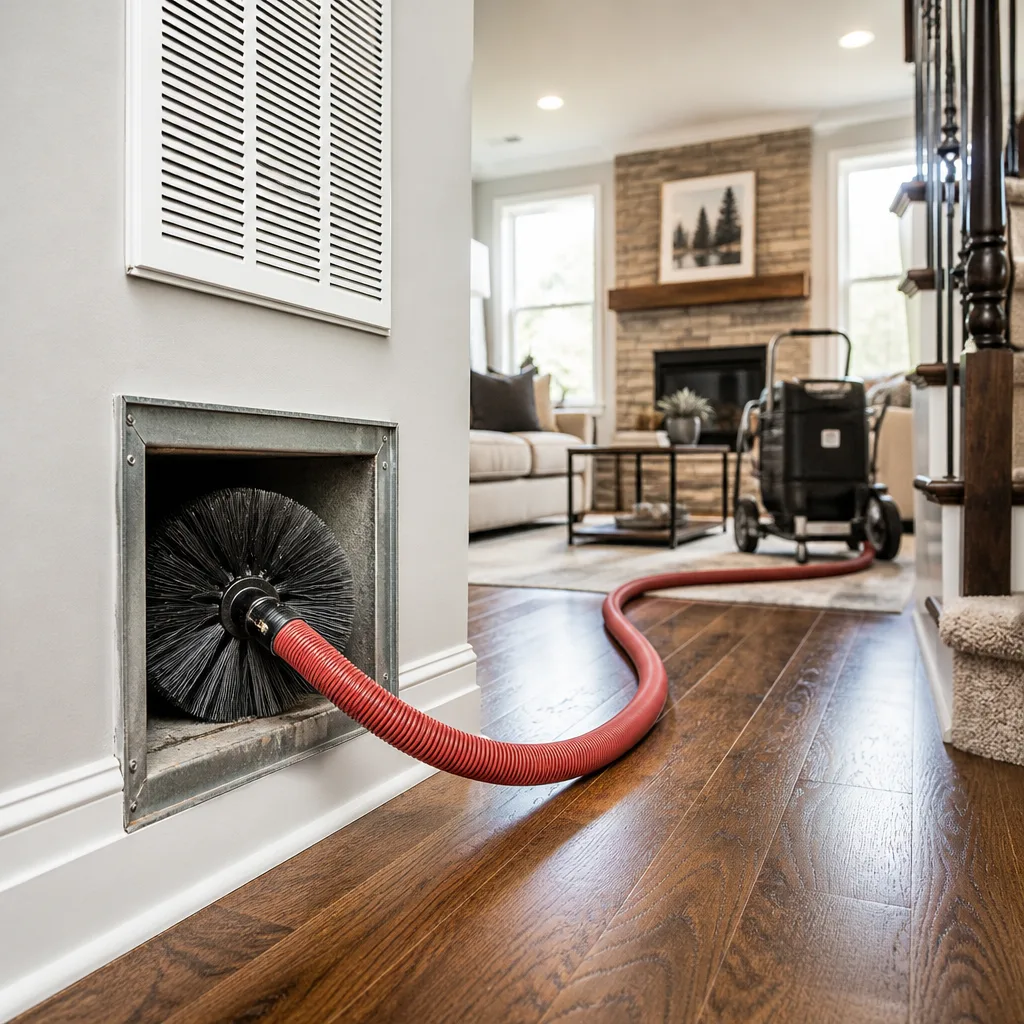 Whole-home duct cleaning
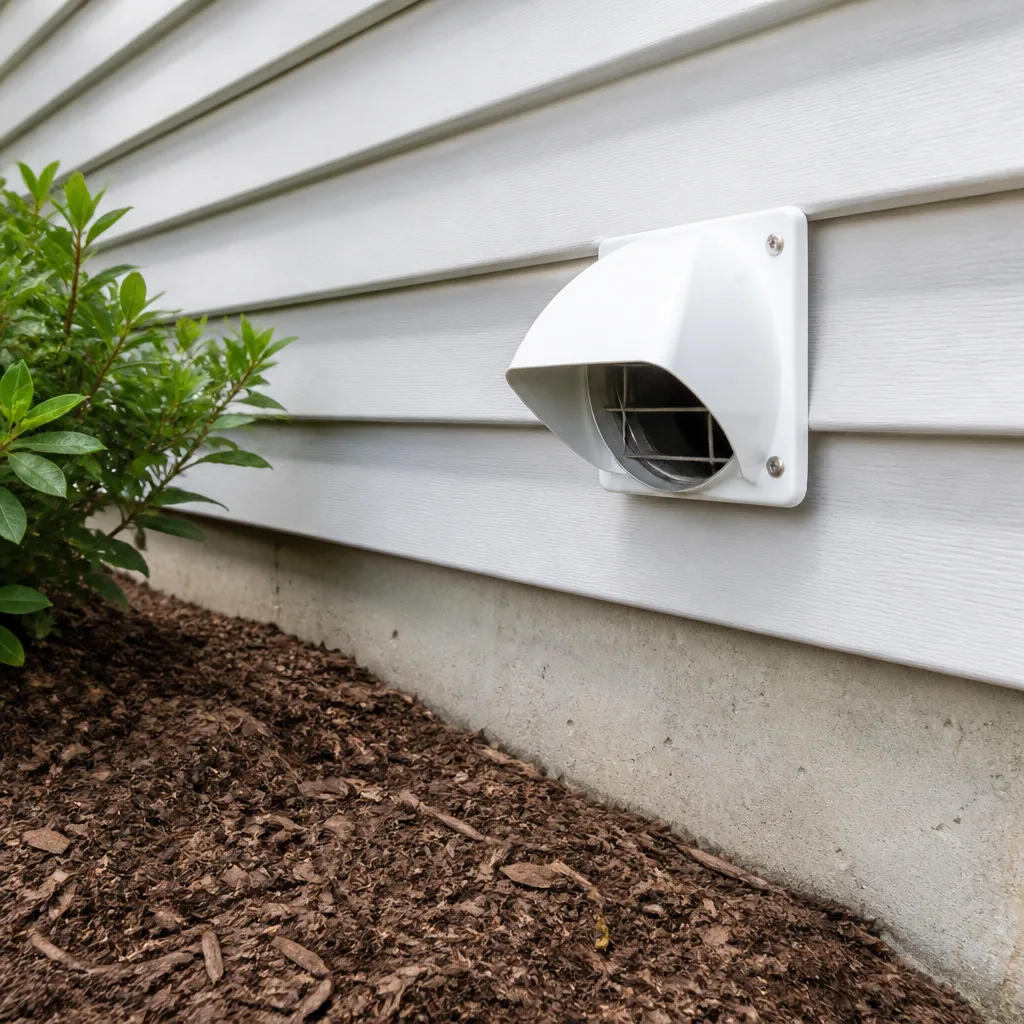 Dryer vent cleaning
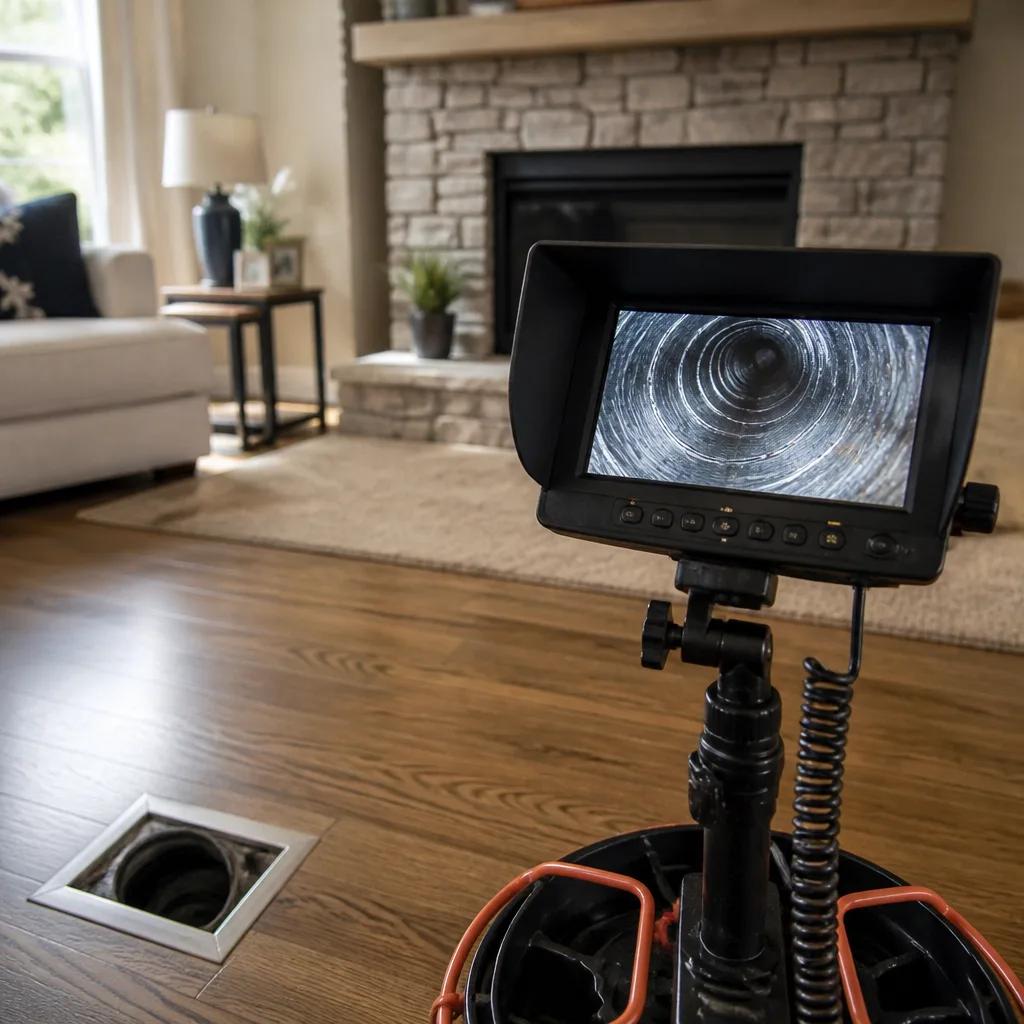 Camera inspection
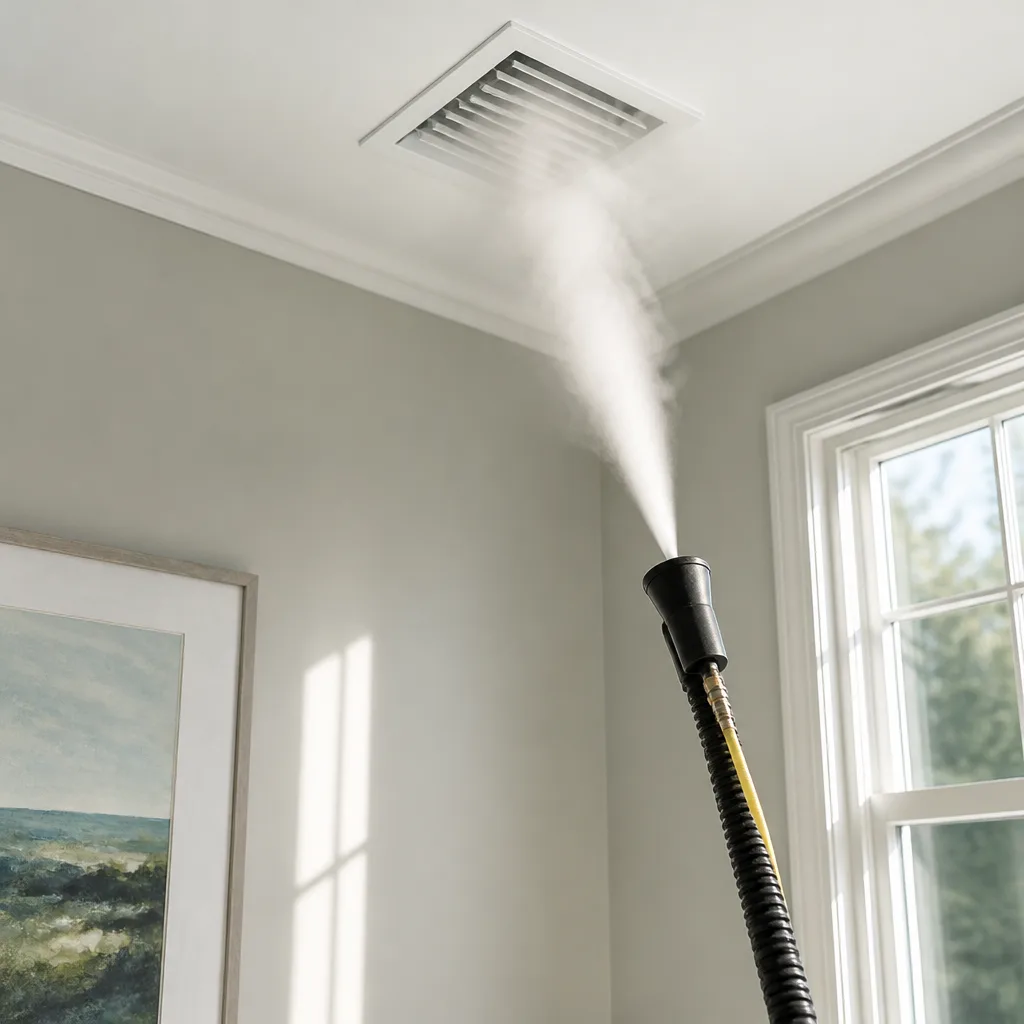 Sanitizing & deodorizing
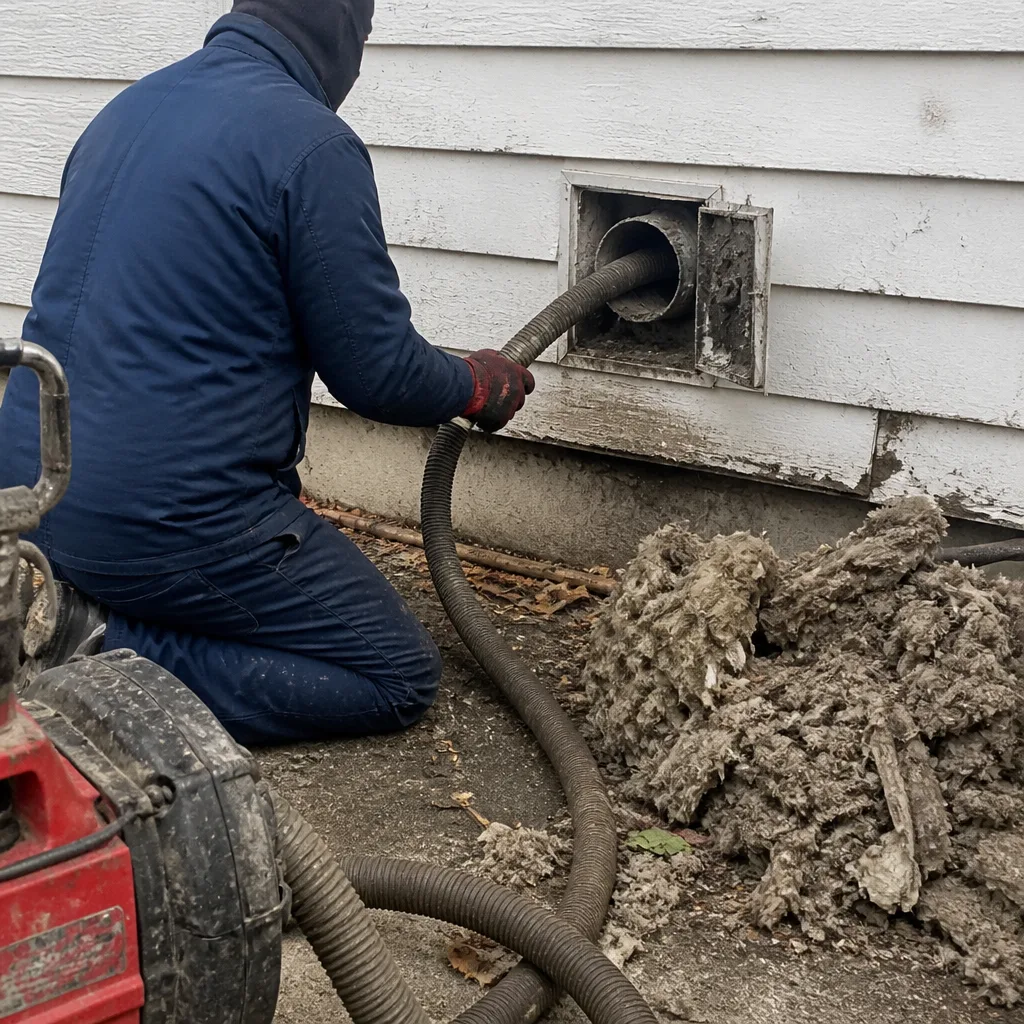
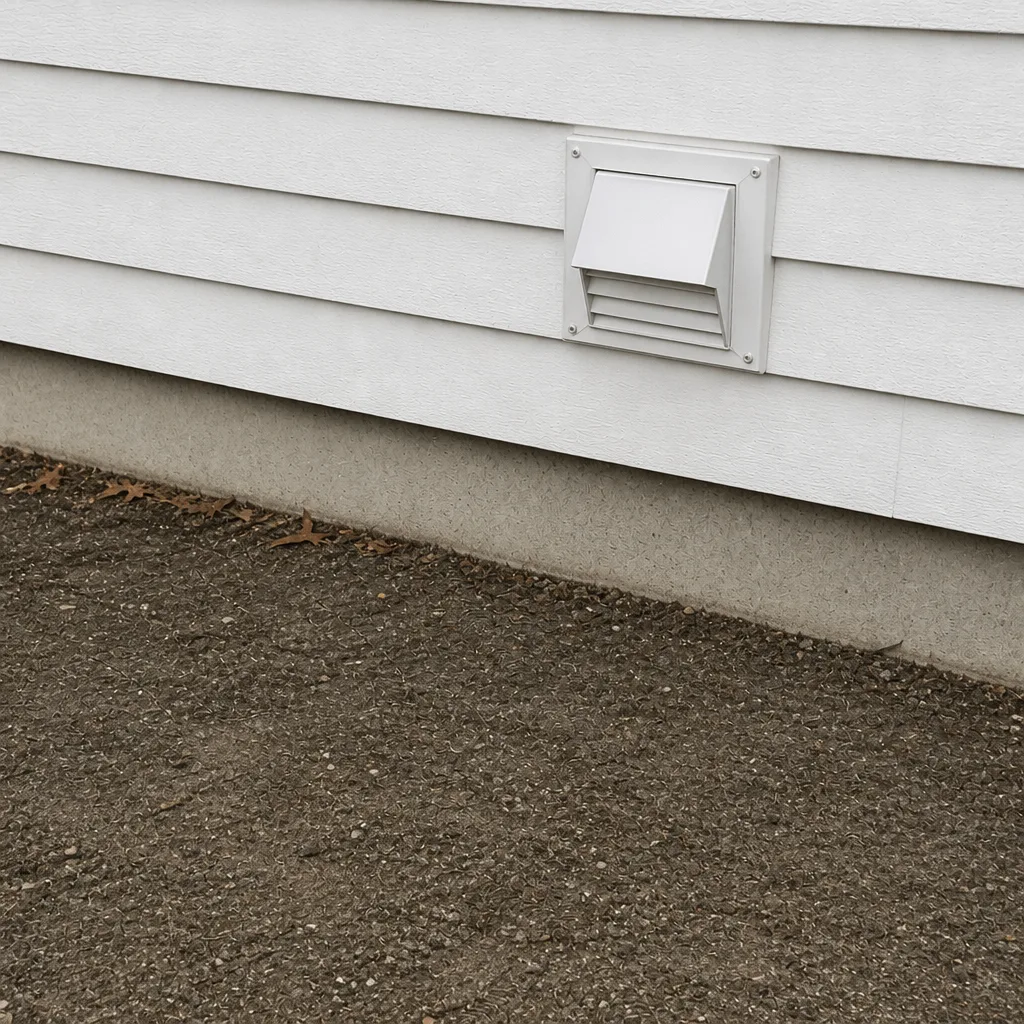
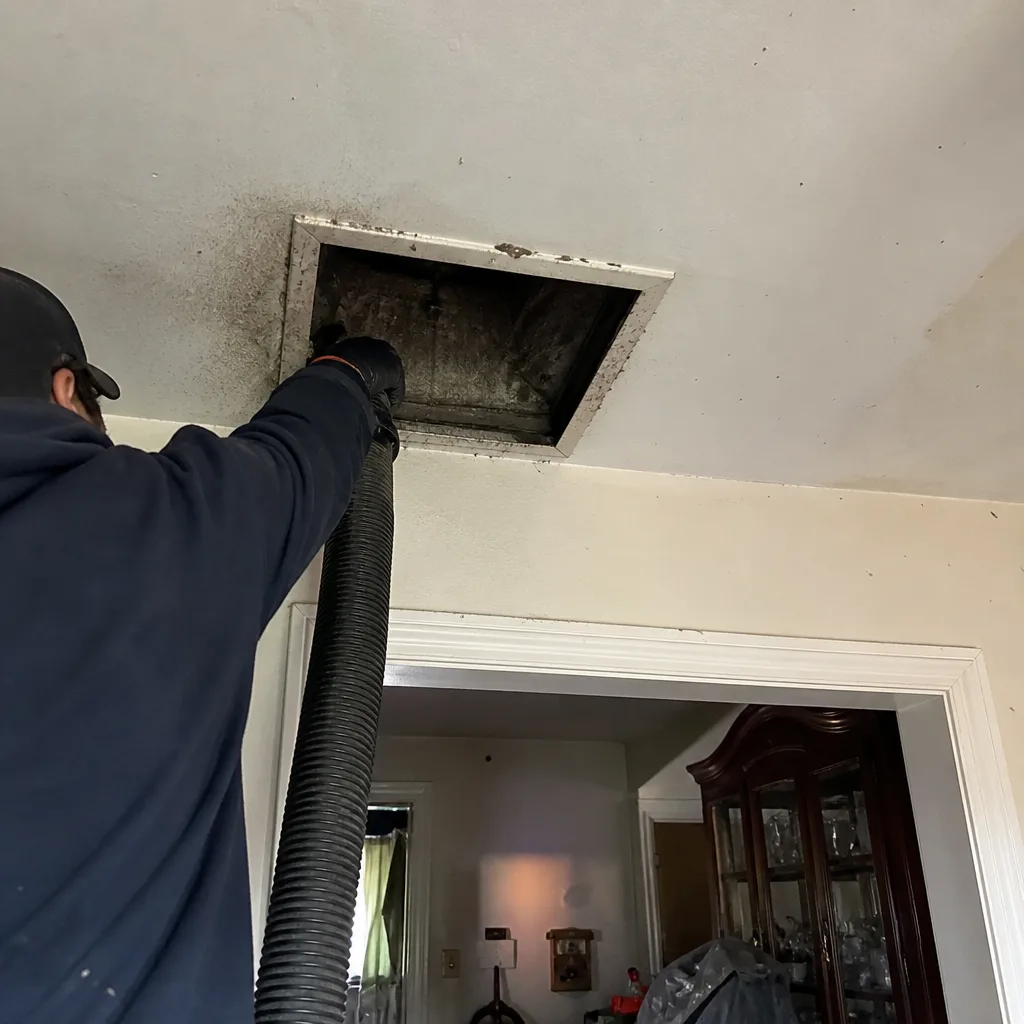
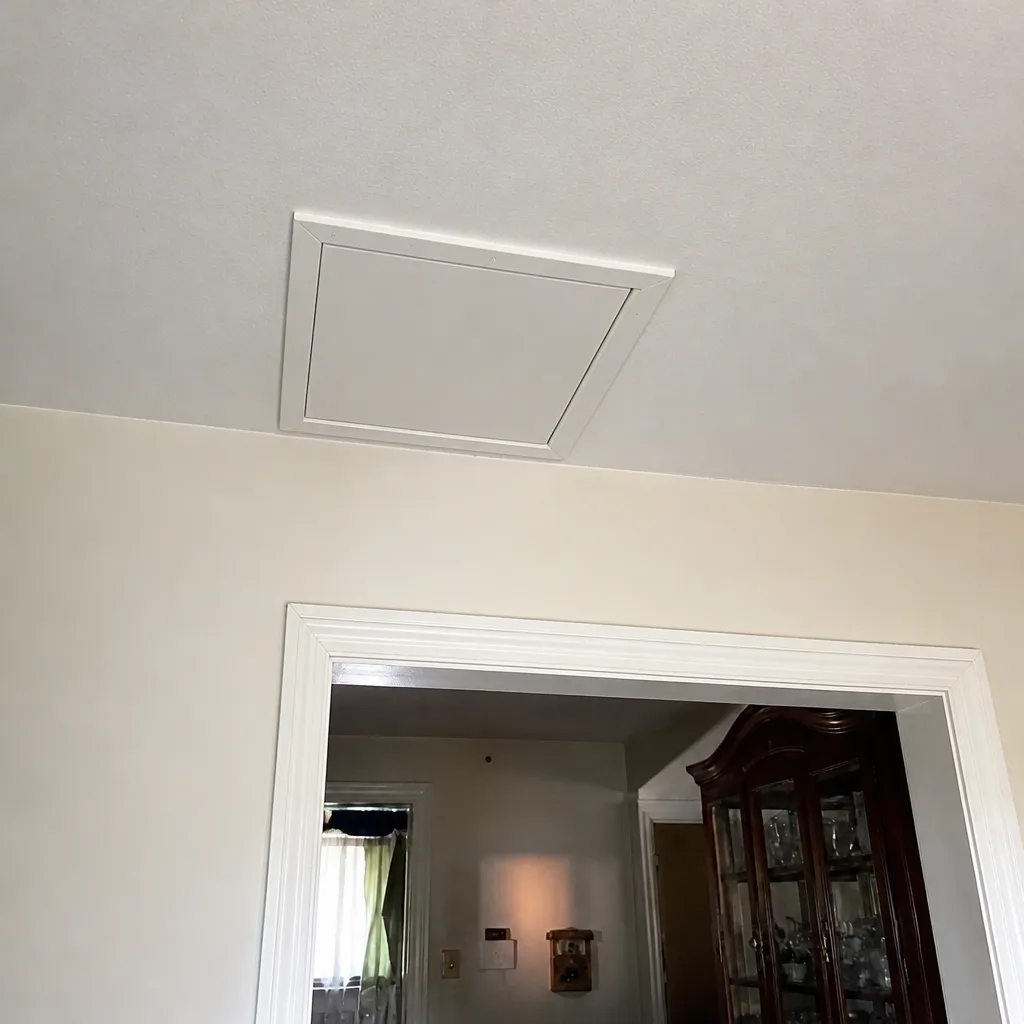
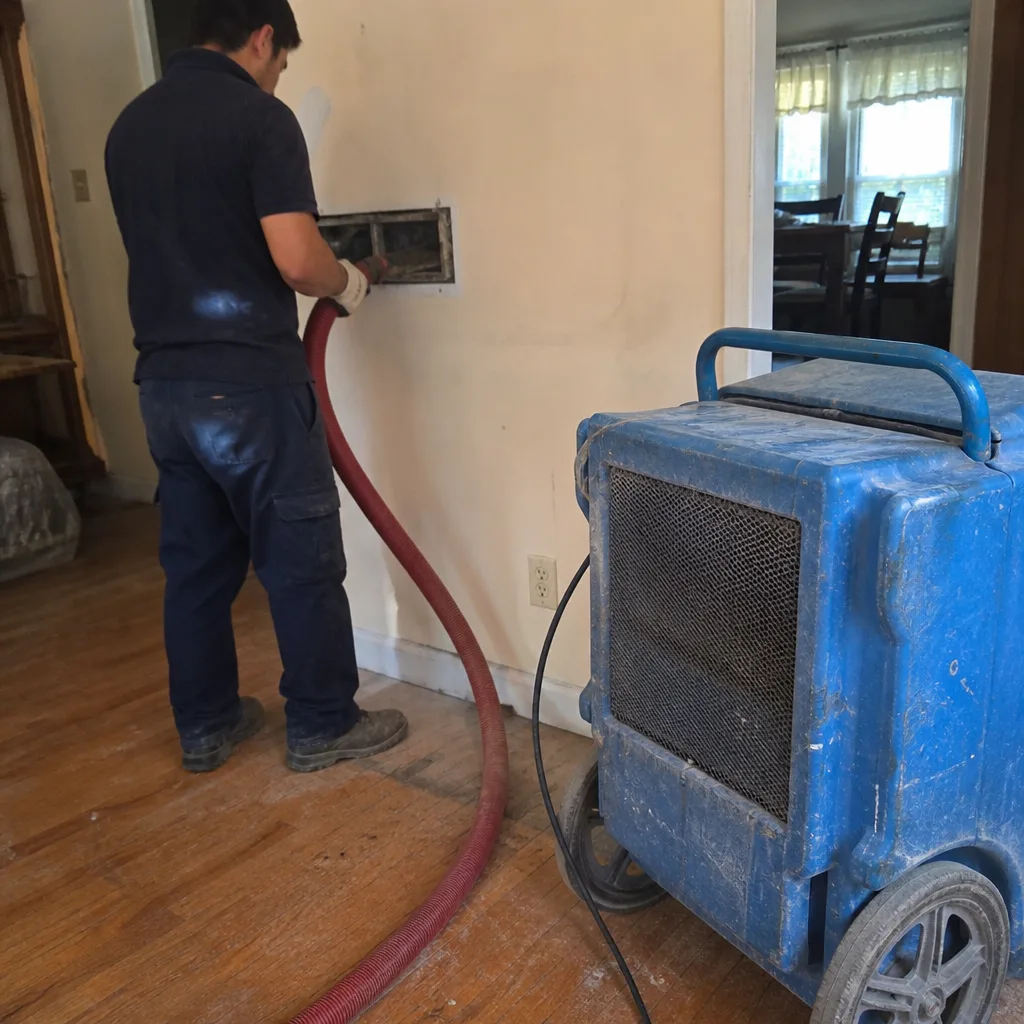
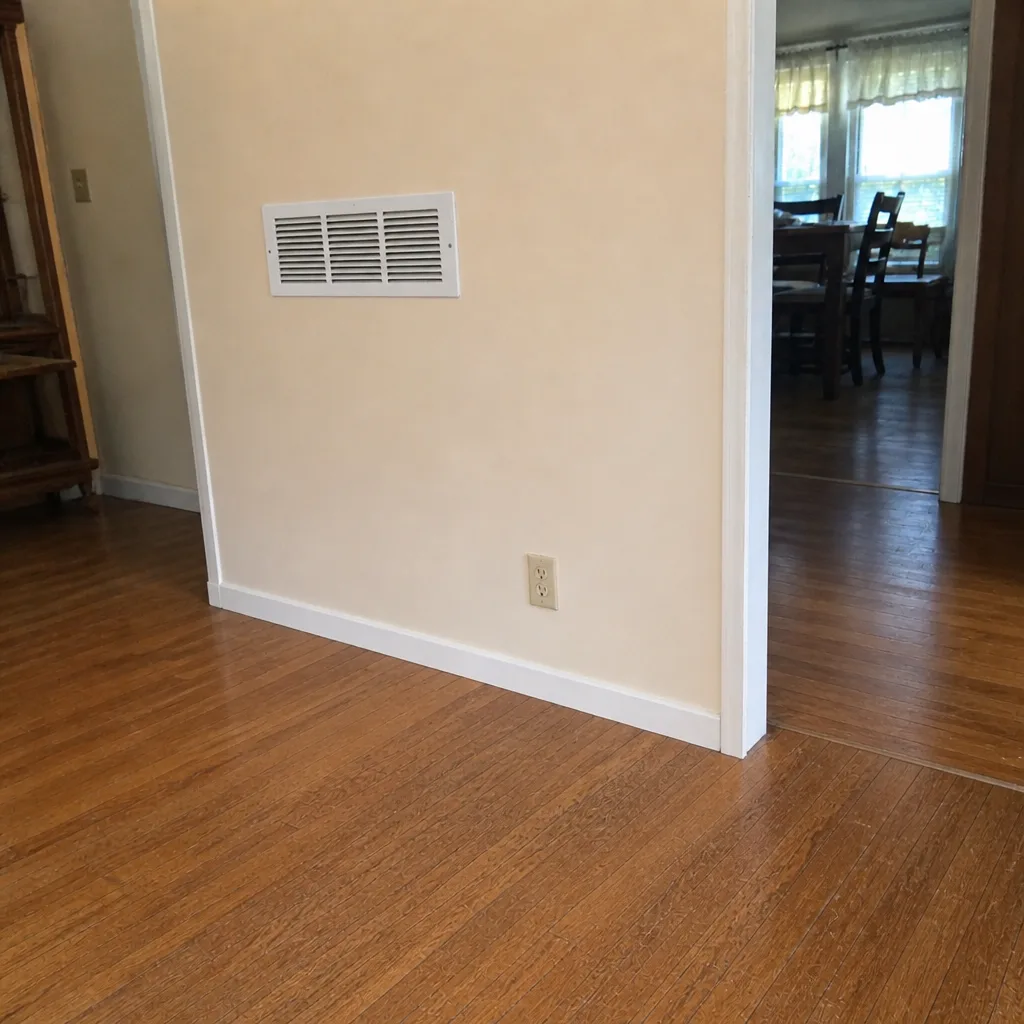
Whole-system duct and dryer vent check with before-and-after photos - you see exactly what came out of your vents
That "$99 whole-house special" is a bait ad - the real number appears once they are in your hallway, or the "clean" is a shop-vac at the register. We photograph the inside of your ducts before and after instead.
Air Duct Cleaning Maintenance Checklist for Canarsie Homeowners
Most Canarsie homeowners treat a filter change as the whole job. It isn’t. A filter only traps what has already moved through the return and into the blower; it does nothing for the dust, pollen and construction grit that settle inside the ducts themselves. So the people who change filters on schedule and never open a single access panel are maintaining the wrong part of the system. This guide gives Canarsie homeowners a real checklist: what to look at each month, what you can check yourself, what needs a camera, and how to log it all so your next technician has something to compare against.
Quick Answer
A workable air duct maintenance checklist for a Canarsie home has four layers: monthly filter and register checks, seasonal walkthroughs at the start of heating and cooling season, an annual professional cleaning and inspection, and a written log of duct condition that carries year to year. Homeowners can handle the first two. Everything beyond that – interior duct surfaces, sealing, dryer vent clearance – needs a camera and professional equipment.
Styles & brands we work with
- Whole-home duct cleaning
- Dryer vent cleaning
- Camera inspection
- Sanitizing & deodorizing
Table of Contents
- Why Canarsie Ducts Age Faster Than the National Guides Assume
- The Month-by-Month Checklist for Canarsie
- What You Can Check Yourself (and What Needs a Camera)
- Filter Ratings That Work With Older Canarsie Blower Motors
- How to Log Duct Condition So Results Compare Year Over Year
- Checklist Items for Attached and Multi-Family Homes
- Don’t Skip the Dryer Vent and the HVAC Unit Itself
- Why We Treat the Whole Air Pathway as One System
Why Canarsie Ducts Age Faster Than the National Guides Assume
Generic duct guides are written for a house in a mild climate with a sealed envelope and no construction nearby. Canarsie isn’t that house. The neighborhood sits along Jamaica Bay, where onshore wind carries a long pollen season straight into return grilles that face the street. Homes here range from early- to mid-20th-century detached houses to dense attached brick rows and larger apartment buildings, and many still run the original duct layouts installed decades ago. That means flex runs that have sagged, supply boots that sweat in humid weather, and return chases that were never designed for today’s filtration.
Add the construction corridor along the waterfront and the surrounding street rebuilds, and you get a particulate load that a standard filter schedule doesn’t account for. Drywall dust and concrete fines travel further than soil dust and lodge in the duct lining instead of passing through. In our experience the homes that look cleanest at the register are often the worst inside, because the visible grille was wiped down while the duct behind it was never touched.
None of this means you need to clean ducts constantly. It means the schedule has to match the neighborhood. A Canarsie home needs checks timed to the local pollen cycle, the heating-season startup, and any nearby construction, which is exactly what the calendar below lays out.
The Month-by-Month Checklist for Canarsie
This calendar follows Canarsie’s actual year, not a Sun Belt template. Adjust the weeks to your own schedule, but keep the sequence.
- January – February (deep heating season): Check the filter at the 30-day mark, not the 90-day mark. Heated air moves more dust into the return. Look at the supply registers for dark streaking around the vanes, which tells you airflow is carrying particulates.
- March: Walk the basement or utility space and check flex duct runs for sagging or disconnected joints. Heating season is the best time to spot condensation on cold surfaces.
- April – May (pollen peak): This is the heavy pollen window for bay-adjacent neighborhoods. Bump filter changes to every 4-6 weeks through this stretch if your returns face the street or a park. Wipe register covers, not just the floor under them.
- June: Before the cooling season ramps, check that all supply boots are seated and that no return grille is blocked by furniture pushed in for the winter.
- July – August (humidity): Watch for condensation or damp patches around supply boots and in the duct chase. Persistent moisture is a call-a-professional item, not a wait-and-see.
- September: Pre-heating-season inspection. If you clean ducts, this is the window – before the system starts running long hours and before holiday guests arrive.
- October – November (heating startup): The first week the heat runs, expect a dusty smell. If it lasts past a few days, the ducts likely need professional attention. Check the filter again after two weeks of heating, since startup stirs settled debris.
- December: Log what you found over the year. Note filter change dates, any streaks, any condensation, any new construction nearby that could change the load next year.
If nearby construction is active on your block, treat every month as a filter-check month. Construction dust doesn’t follow a season.
What You Can Check Yourself (and What Needs a Camera)
You don’t need to guess whether your ducts need work. Some checks are safe and genuinely useful for a homeowner. Others require a scope camera, and attempting them yourself risks damaging flex duct or, worse, dislodging a joint you can’t see.
Checks you can do yourself
- Register covers: Remove the grille and look at the first few inches of duct. If you can see a mat of dust on the visible surface, the run behind it is likely worse.
- Flex duct sag: A run that dips more than a hand’s width between supports is losing airflow and collecting debris at the low point.
- Condensation around supply boots: Any dampness, staining or peeling paint around a boot means a sealing or insulation issue worth flagging.
- Visible dust trails: Dark lines around registers or on ceiling paint near a supply point show where air is escaping the system.
- Odor: A musty smell that returns after cleaning the register is a sign of contamination you can’t see.
Checks that need professional equipment
- Interior duct surfaces beyond the first bend: A camera is the only way to see what’s inside a 20-foot run.
- Joints behind walls and ceilings: Disconnected or crushed flex is invisible from a register.
- The return chase and plenum: These are the highest-load areas and the hardest to access.
- Dryer vent interior: Lint buildup is a fire risk and the inside of the vent can’t be checked by hand past the first elbow.
- Sealing decisions: Whether a joint needs tape, mastic or replacement depends on what the camera shows.
For the professional side of the job, our Air Duct Cleaning Canarsie page covers the full scope of what a proper inspection and cleaning involves.
Filter Ratings That Work With Older Canarsie Blower Motors
Homeowners often assume the highest MERV rating is the safest choice. The opposite is true in older Canarsie homes. Many heating systems here run blower motors that were sized decades ago for low-resistance filters. Put a high-MERV filter in and you can starve the blower of airflow, which raises static pressure, strains the motor and can leave rooms cold or stuffy regardless of the clean ducts behind the grille.
Here’s the practical range:
- MERV 8: The safe default for older systems. Catches pollen, dust and most construction grit without measurably restricting airflow.
- MERV 11: A reasonable step up if the blower can handle it and the filter is correctly sized. Worth trying when allergy complaints are the main driver.
- MERV 13 and above: Usually too restrictive for a legacy blower motor unless the system has been designed for it. If you’re set on high filtration, ask about a media cabinet sized for the HVAC unit rather than forcing it through a 1-inch slot.
Two rules that matter more than the rating: match the filter’s dimensions exactly, and change on a schedule that reflects your dust load, not the number printed on the box. A Canarsie home near an active construction corridor may need changes at twice the manufacturer’s interval in spring and early fall.
How to Log Duct Condition So Results Compare Year Over Year
The single most useful thing you can do for your ducts costs nothing: write it down. Every technician who arrives without a baseline has to start from scratch, which means every visit costs you the same diagnostic time and every conversation starts vague. A simple log changes that.
Keep a page or a notes file with these fields:
- Date and season phase (heating startup, pollen peak, cooling season).
- Filter brand, MERV rating and replacement date.
- Registers inspected: which ones showed dust, streaking or dampness.
- Visible duct condition: any sagging flex, discolored tape, or loose joints you noticed.
- Odor notes: musty, dusty, or none.
- Any work done (cleaning, sealing, HVAC service) with the date, so the next technician knows when the system was last touched.
Bring that log to your next service visit. It lets the technician go straight to the registers that have been a problem before, and it gives you a fair comparison when a quote for extra work comes in. If a contractor tells you the ducts are heavily fouled this year, you’ll be able to see whether the prior inspection agreed.
For the full scope of what a professional inspection covers alongside cleaning, see air duct cleaning.
Checklist Items for Attached and Multi-Family Homes
Canarsie’s dense row houses and apartment buildings add a checklist layer that detached-home guides ignore. Shared walls, shared returns and stacked units mean duct problems don’t stay contained.
- Check for cross-unit return sharing. If your return grille pulls air from a shared chase, dust and odors from adjacent units can travel into yours. Note it before it becomes a dispute.
- Seal at the party wall. Where ducts pass through a shared wall, gaps let air leak both ways. Ask whether the seal at the wall penetration is intact.
- Confirm your filter isn’t the building’s only one. In some multi-family configurations the central HVAC unit serves several units. When it was last serviced matters for everyone.
- Check the dryer vent route. In attached homes the vent run is often longer and more elbow-heavy than in a detached house, which is exactly where lint collects.
- Log the shared-chase condition once a year. If you’re a property manager, this log becomes the record you show tenants and make decisions from.
Property managers who handle several Canarsie buildings can take this further with a single schedule across units. For the HVAC side of that work, HVAC cleaning is worth a look alongside the duct checklist.
Don’t Skip the Dryer Vent and the HVAC Unit Itself
The duct checklist stops short if it only covers supply and return runs. Two components sit in the same air pathway and are routinely skipped: the dryer vent and the HVAC unit’s own internal surfaces.
Dryer vent: a fire-risk item, not an optional add-on
Lint buildup inside a dryer vent restricts airflow and creates a genuine fire risk. Most vent-only operators ignore this entirely because it’s not technically part of the duct system. Check the outdoor vent flap: if it opens weakly, barely moves, or you can see lint packed behind it, the vent needs professional cleaning. Never try to clear a long vent run with a consumer brush kit; you can push lint further in or damage the flexible lining. Our dryer vent cleaning service exists specifically for this.
HVAC unit: the blower and coil
Even perfectly clean ducts will circulate debris if the blower wheel and evaporator coil are dirty. The blower wheel is the single most overlooked surface in the whole system, because it’s invisible from the filter slot. A professional HVAC cleaning pulls the blower and cleans the coil, then confirms the whole assembly runs clean. Homeowners should never attempt to open the coil cabinet or blower housing themselves; the electrical and refrigerant components inside are beyond a homeowner’s scope.
Sanitizing: for contamination, not routine
Sanitizing makes sense when the camera shows microbial growth, odor, or after pest or water intrusion. It is not a substitute for cleaning and it shouldn’t be sold as routine maintenance. When it is warranted, the work should be done with commercial-grade air-quality equipment rather than a simple spray, which is why we use Abatement Technologies units and a Guardsman-grade protective treatment as part of the sanitizing scope.
Why We Treat the Whole Air Pathway as One System
Most checklist guides treat each component in isolation: filters here, ducts there, dryer vent separately. That misses the reality that these are one system. A sagging flex run in the basement restricts the blower, which then pulls harder on the dryer vent and the return chase, and the whole house drops in air quality at once. Cleaning supply ducts without sealing the leaks they expose means the dust returns faster. Cleaning ducts without checking the blower means the system stays dirty from the inside out.
We bring the equipment designed for this work. Rotobrush and Nikro are the same platforms commercial HVAC contractors specify for duct projects, because a repurposed shop vacuum doesn’t have the brush reach or the negative-pressure control to actually clean a duct run. Abatement Technologies air-quality equipment lets us handle the sanitizing as a controlled process rather than a spray-and-pray. And because we work on systems by Honeywell and Aprilaire, cleaning and servicing those premium filtration and control configurations doesn’t void anything you already have installed.
Our technicians have up to 8 years of experience across cleaning, repair, sealing and sanitizing, so the checklist ends with a single provider handling the whole pathway start to finish. When a leak turns up during cleaning, we handle the sealing in-house rather than sending you looking for a second contractor.
Common Mistakes to Avoid
- Treating the filter as the whole system. A new filter does nothing for dust already inside a duct run. Change the filter on schedule, but don’t let that close the checklist.
- Filtering above what the blower can handle. Pushing a MERV 13 filter into an older blower motor can starve airflow and strain the motor, which costs more than the filter saves. Match the rating to the system, not the box.
- Skipping the year-over-year log. Without a written record, every technician starts from scratch, and you have no way to check whether a quote for extra work matches the prior inspection.
- Ignoring the dryer vent because it isn’t a duct. Lint buildup behind the outdoor flap is a fire risk and a common omission on Canarsie checklists. Check it at least once a year.
- Waiting for visible dust before acting. Dark streaks, damp boots and musty smells are the warning signs. Once dust is visibly blowing out of a register, the run behind it has been fouled for a long time.
- Hiring a spray-only sanitizing service. A canister of spray over a dirty duct does not clean anything. Sanitizing only works after the duct surfaces have been mechanically cleaned with proper extraction equipment.
- Splitting the job across contractors. Cleaning with one company and repairing leaks with another means the second crew has to re-open work the first just finished. Keep the whole pathway with one provider.
See the difference
 Before
 After
 Before
 After
 Before
 After
When to Call a Professional
Some checks the checklist covers for you. Others genuinely require a camera, extraction equipment and experience reading what the camera shows. Call a professional when any of the following turn up: a musty smell that returns after register cleaning, visible dust streaks around multiple registers, condensation or staining around supply boots, a dryer vent flap that barely opens, or a heating-season startup smell that lasts more than a few days. Call immediately after water damage, pest intrusion or a renovation, since both push debris into the returns before you’ll notice it at the grille. Also call if your log shows the same registers failing year after year; that pattern usually means a leaking or disconnected run rather than routine dust. Air Duct Cleaning Canarsie offers free estimates in Canarsie – call (888) 774-8092.
Frequently Asked Questions
Most Canarsie homes need professional duct cleaning every 3 to 5 years, with the shorter end of that range for homes near active construction or with allergy concerns. Filter changes are a much more frequent routine, every 4-6 weeks during the spring pollen peak. Annual inspections are worth doing even when cleaning isn’t due, so the log stays current. Call (888) 774-8092 for an exact quote on your home.
No, a household shop vacuum isn’t built for this. It can’t reach past the first bend, and pulling vacuum on a duct run without negative-pressure control can spread dust through the house rather than remove it. Register covers and visible flex runs are safe to inspect yourself; everything past that needs professional equipment. Call (888) 774-8092 to book an inspection.
MERV 8 is the safe default for most older Canarsie systems, and MERV 11 is a reasonable step up if the blower can handle it. High ratings like MERV 13 usually restrict airflow too much for legacy blower motors. Match the filter dimensions exactly and check with us before stepping up a rating.
A dusty smell in the first few days of heating season is normal – it’s settled debris burning off in the heat exchanger. If the smell persists past about a week, or has a musty or burning character, the ducts and possibly the blower need professional attention. Call (888) 774-8092 for an inspection before it cycles through the house for a whole season.
Sanitizing is worth it when the camera shows microbial growth, odor or after pest or water intrusion, and it’s not worth it as routine maintenance. The distinction matters: cleaning removes the contamination, sanitizing treats the surface afterward. We only recommend sanitizing when the inspection shows it’s needed. Call for a free estimate.
You should see before-and-after photos of your own ducts, not stock images, plus a written record of which registers and runs were serviced. Ask to see the camera footage at the start and end of the job. Anything less makes it hard to verify what you paid for. Call (888) 774-8092 to schedule a free estimate.
The Bottom Line
A Canarsie duct system stays in good shape when the checklist runs on the local calendar, not a national template. Change the filter every 4-6 weeks through the spring pollen peak, walk the registers and visible flex runs each season, check the dryer vent flap at least once a year, and keep a written log that travels with the house. Match filter rating to the blower, not the box. When the checks turn up odors, streaks or damp boots, bring in a professional who can scope the interior, clean it with real duct equipment, and seal any leaks they find in the same visit. That sequence, repeated yearly, keeps the whole air pathway healthy and confirmed.
Call (888) 774-8092. We answer 24/7. Fast dispatch from 7am to 7pm, Sunday through Friday. Estimates are free, and the price is set per job by the written estimate.
Written by the team at Air Duct Cleaning Canarsie.